Handyman: Cleaning a gunky Logitech MX Ergo

Hello again and thank you for stopping by! Recently, I’ve been trying to do more stuff with my hands in order to stay away from a computer screen. So, I’m starting a new series on this blog, called “Handyman”, where I’ll show some of the handywork I did around my house, car etc. Ironically, the first post will be about technology, where I’ll show you how I cleaned my Logitech MX Ergo mouse.
Logitech MX Ergo is perhaps the most comfortable mouse I have ever used. I know ergonomic peripherals are a meme, but I really mean this when I say that no mouse I have ever owned comes close to this one as comfort. It has one fatal flaw, however - its rubber coating. I have no idea what Logitech thought when designing the mouse, but obviously they have overlooked two really big problems: the mouse gets sticky when your palm sweats and, more importantly, the rubber vulcanizes after usage. This means that after some time, a year for me, the mouse just gets gross. Additionally, rubber chunks get under the trackball and you need to clean it more often.

Apparently, this is a really common issue, as well: see here and here. One day, I got too grossed out by the mouse and decided to clean it up.
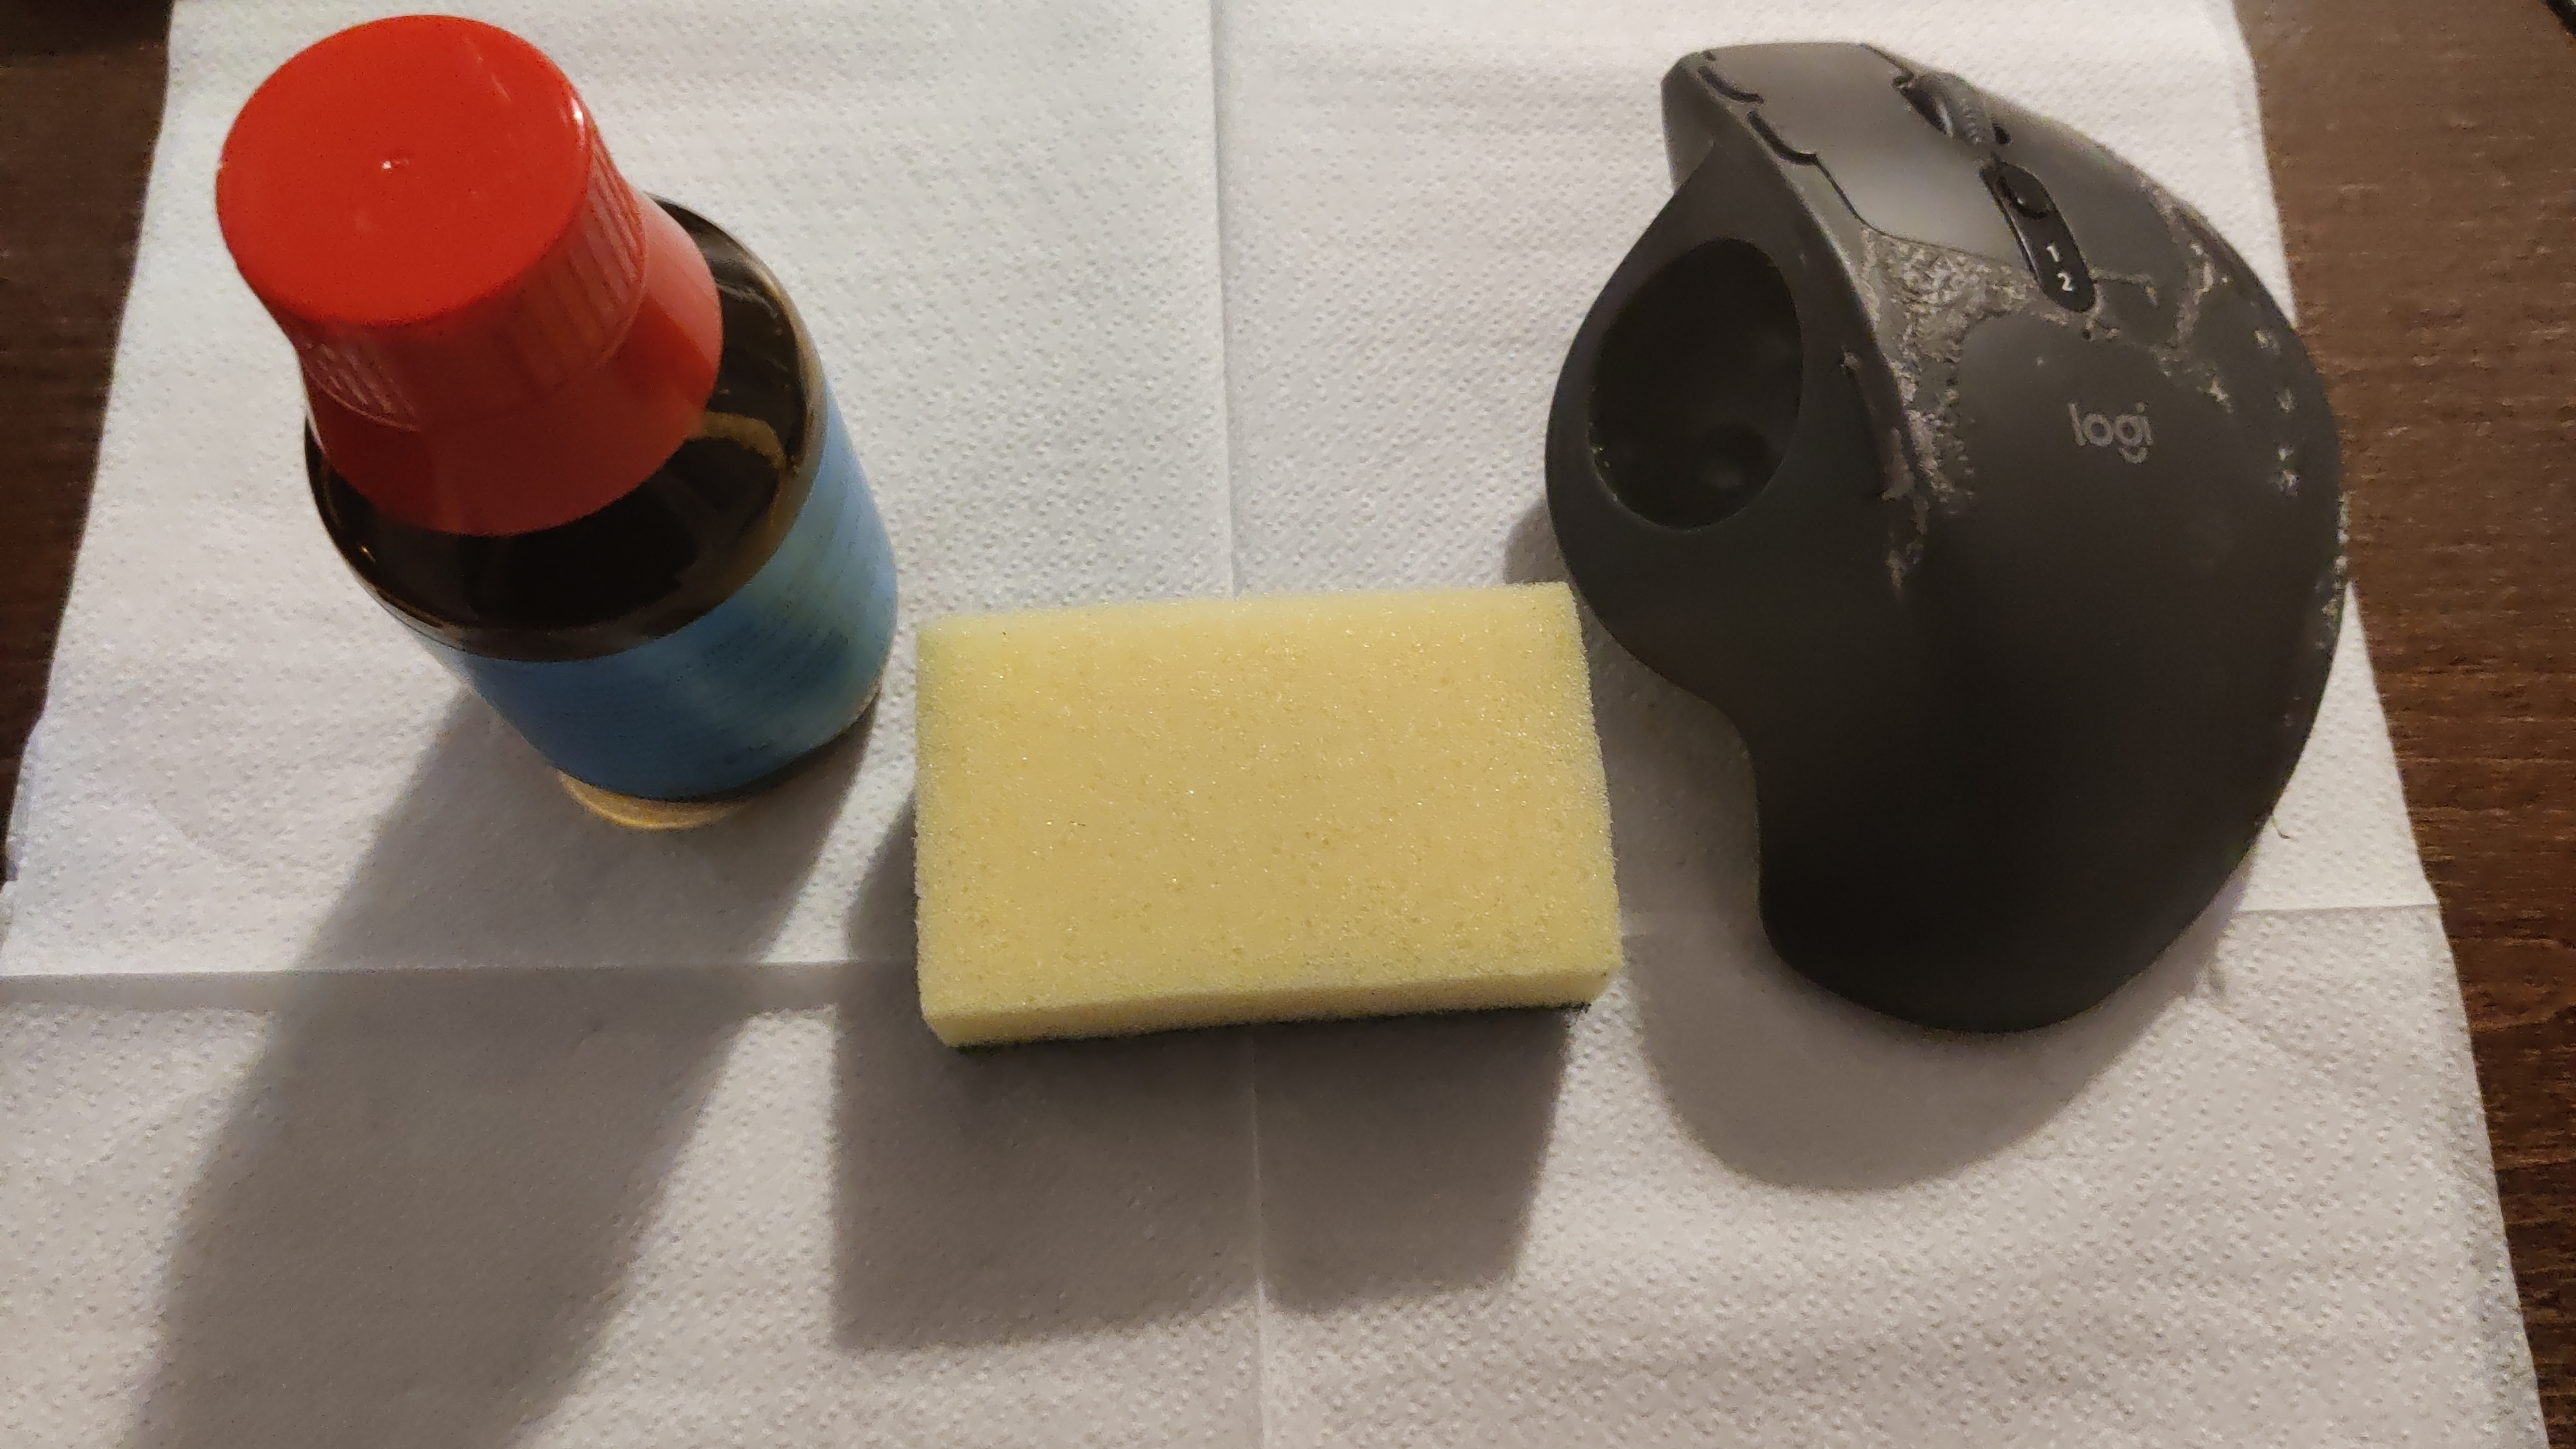
This is what I gathered:
- common sponge for cleaning dishes
- some ethanol
- tools for disassembly (for cleaning the insides) and piercing (in order to remove the coating)
After you have these things, remove the trackball from the mouse, apply ethanol on the sponge and use it to wet the coating of the mouse. Ethanol will actually not do anything apart from wetting the surface, but it evaropates faster than water, so we are using it to avoid short-circuiting something if some liquid gets inside the mouse. After you have done this, you can start using the grainy part of the sponge to rub the coating off.
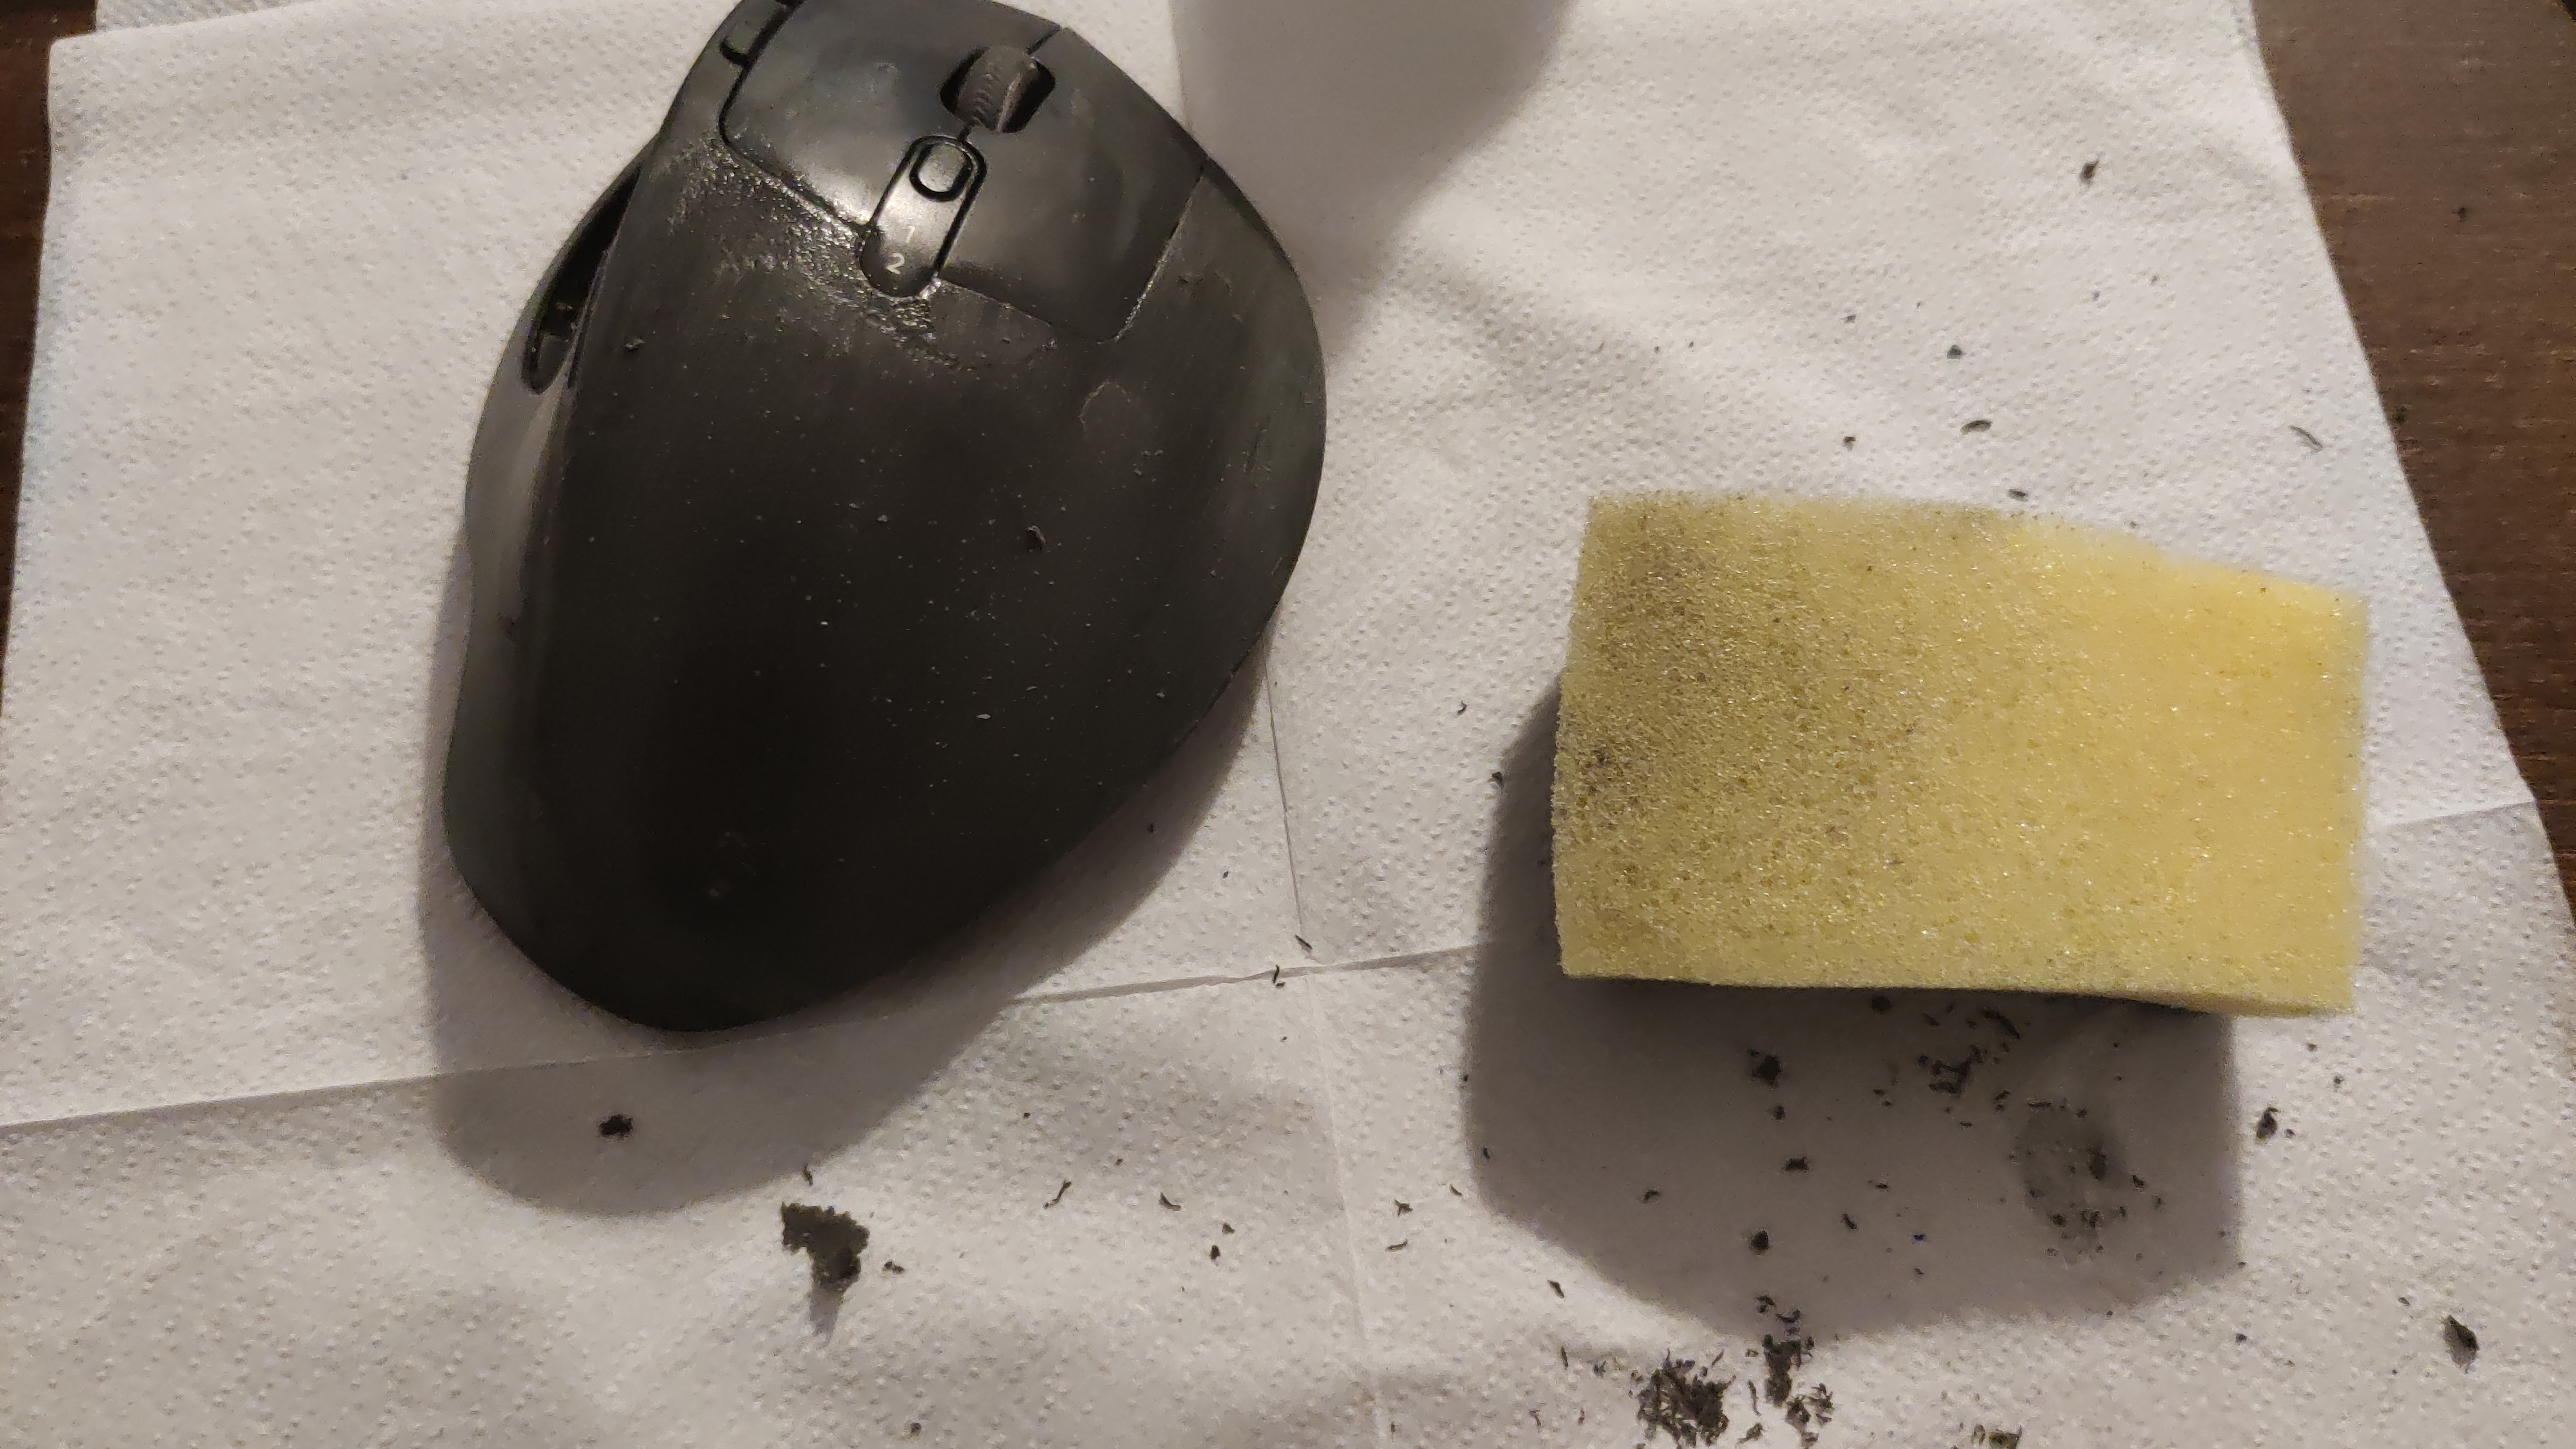
The coating is somewhere about 2mm in height, but after you have scrubbed some time, it should start getting thinner. When that happens, you can use the tool that you have to pierce the rubber. I do not recommend using a knife or any metal tool, as that can damage the plastic below the coating. You can go ahead and use a pen or something of the sort (I used the pointy side of the spudger from my iFixit kit). After you have removed the coating, you can use the sponge to remove the remaining rubber from the mouse surface.

Finally, you need to open the mouse to clean any residue that had managed to get inside through the opening near the scroll wheel. To do this, you’ll need to remove the metal plating on the bottom and unscrew the screws with a TEX3 screwdriver. After the screws are off, you can pick an edge that you want to pry open. You can use a bank card or an iFixit opening pick, if you have one. I don’t recommend using your nails. Be careful when opening the mouse as there is a cable connecting the switch button to the rest of the mouse. Clean up the insides using a brush.

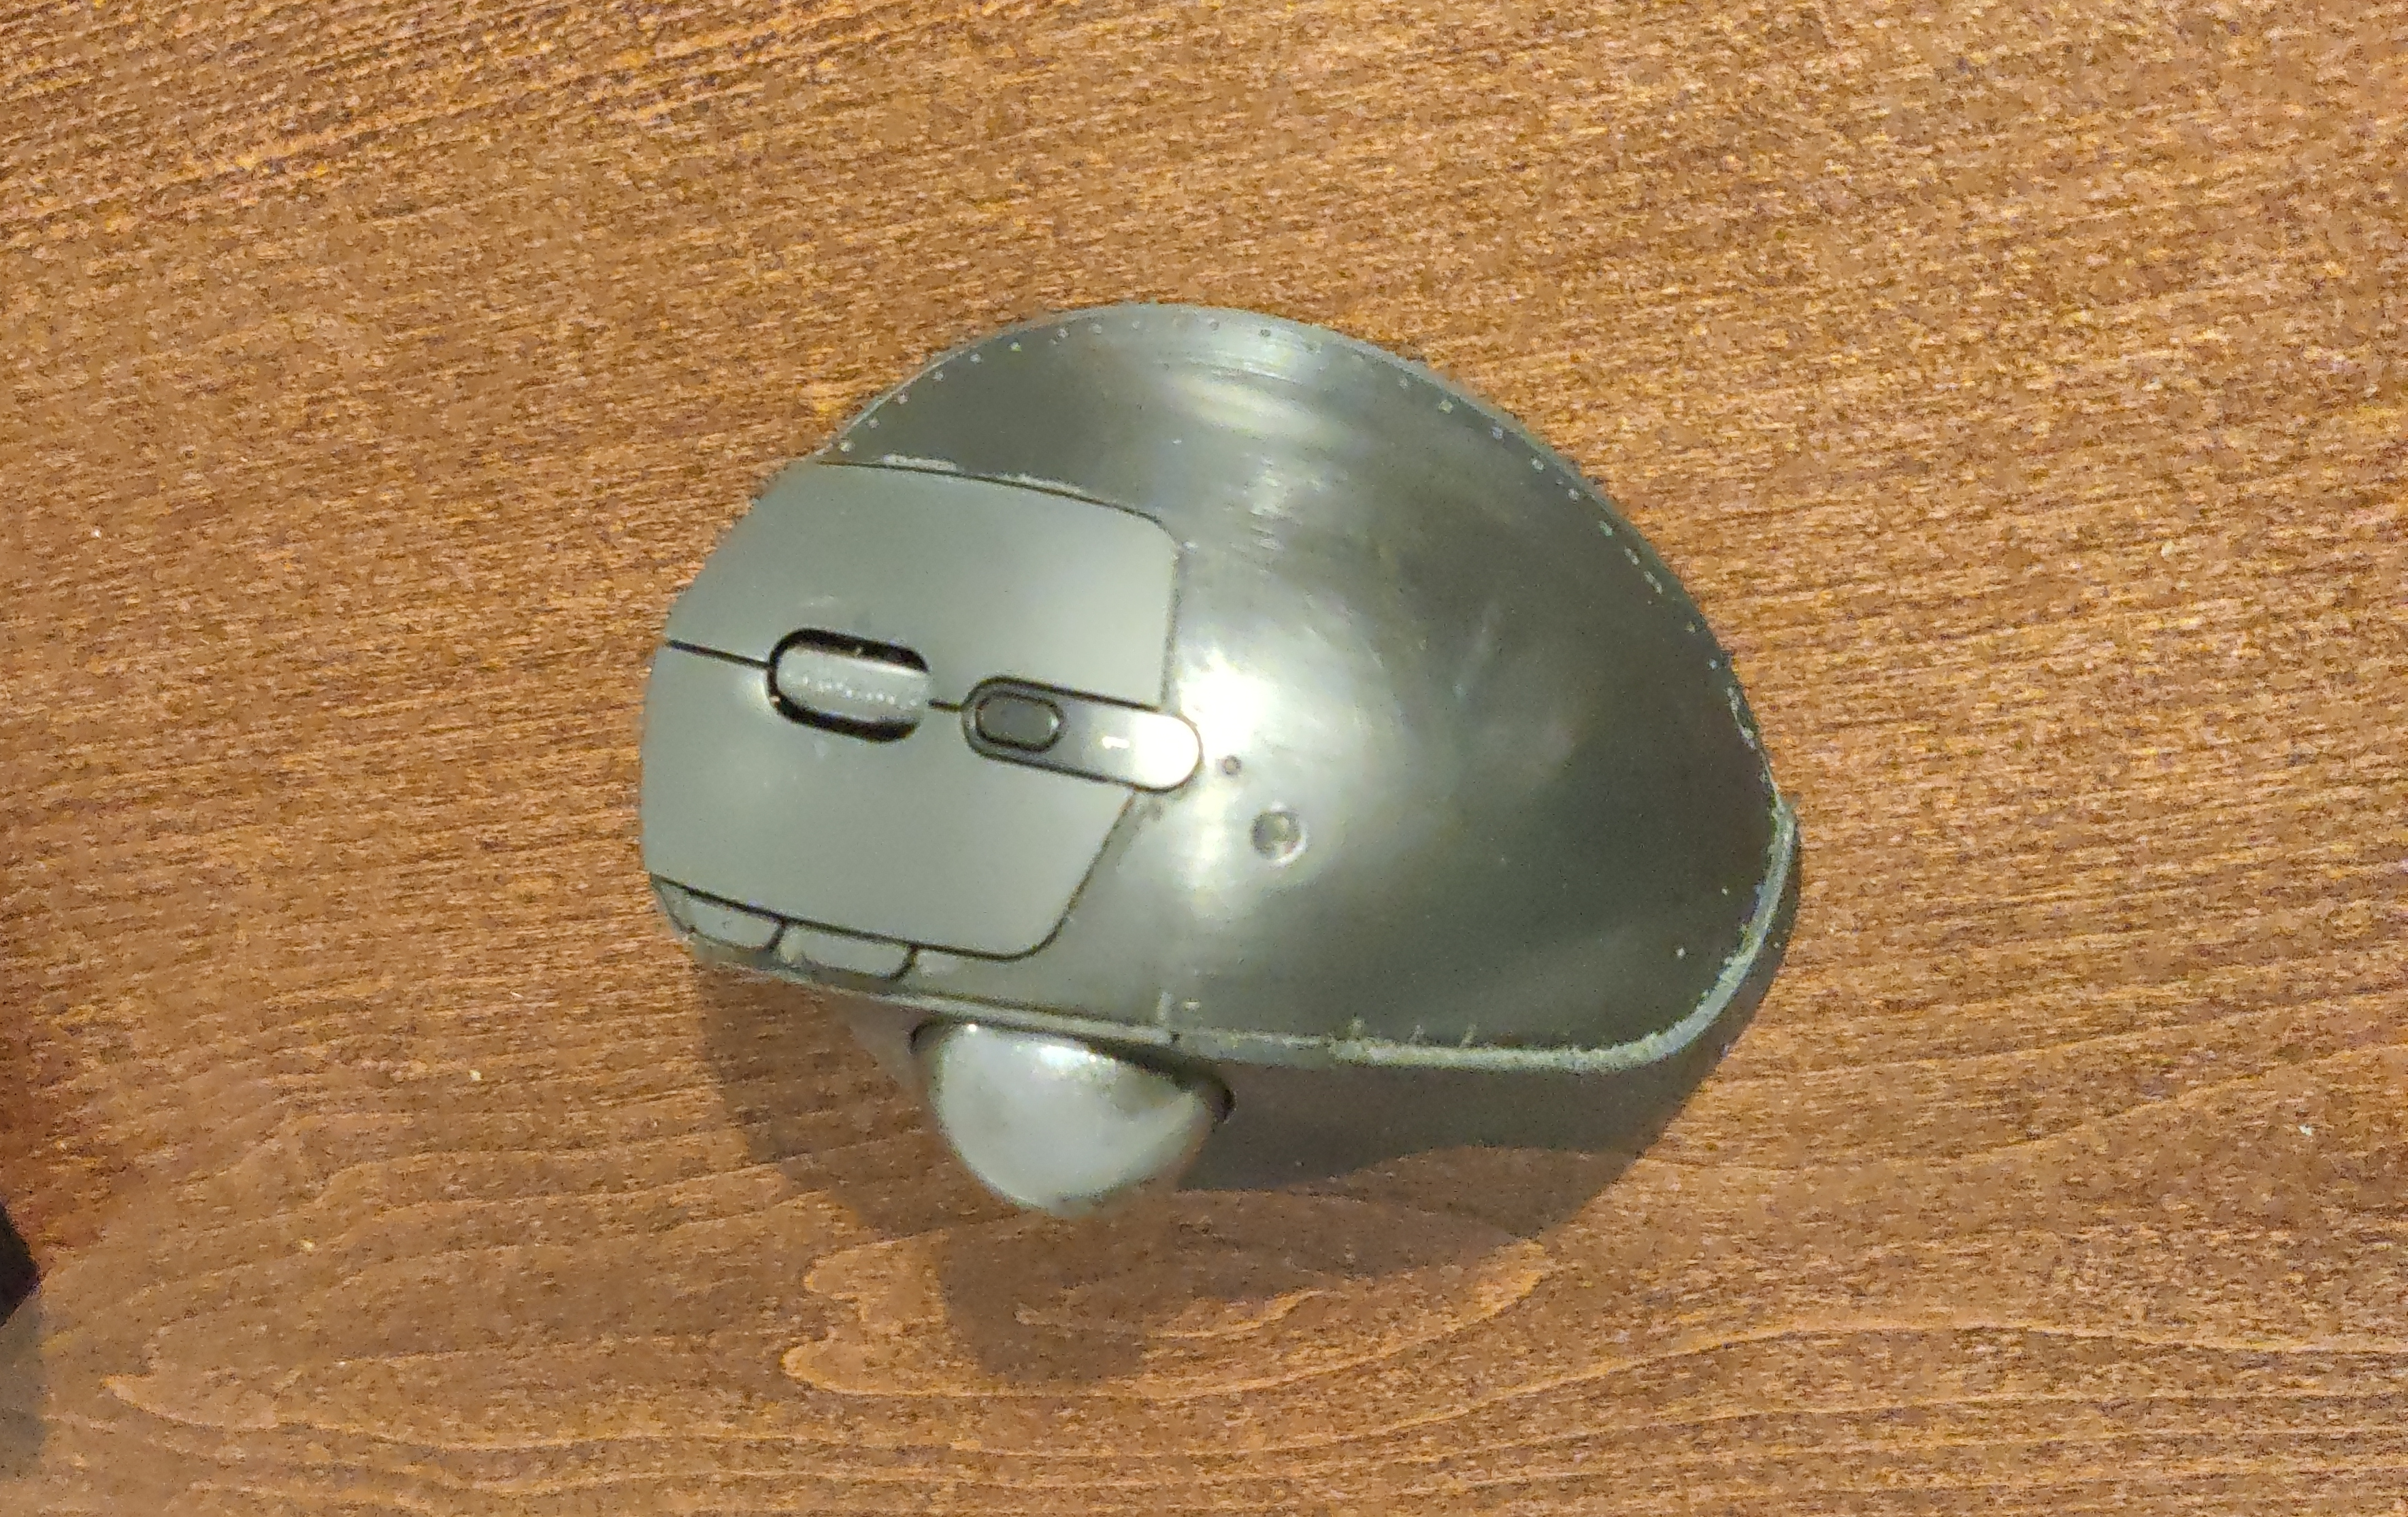
And that’s it! After reassembling the mouse, you can polish it with the sponge and clean your trackball and the laser inside. It should look something like the image below and even if the mouse feels a little weird now, you’ll get used to it and enjoy it down the road.